
Paver Calculator for Patios and Paths
Calculate paved area, cutting allowance and whole pavers from project dimensions and individual paver size.
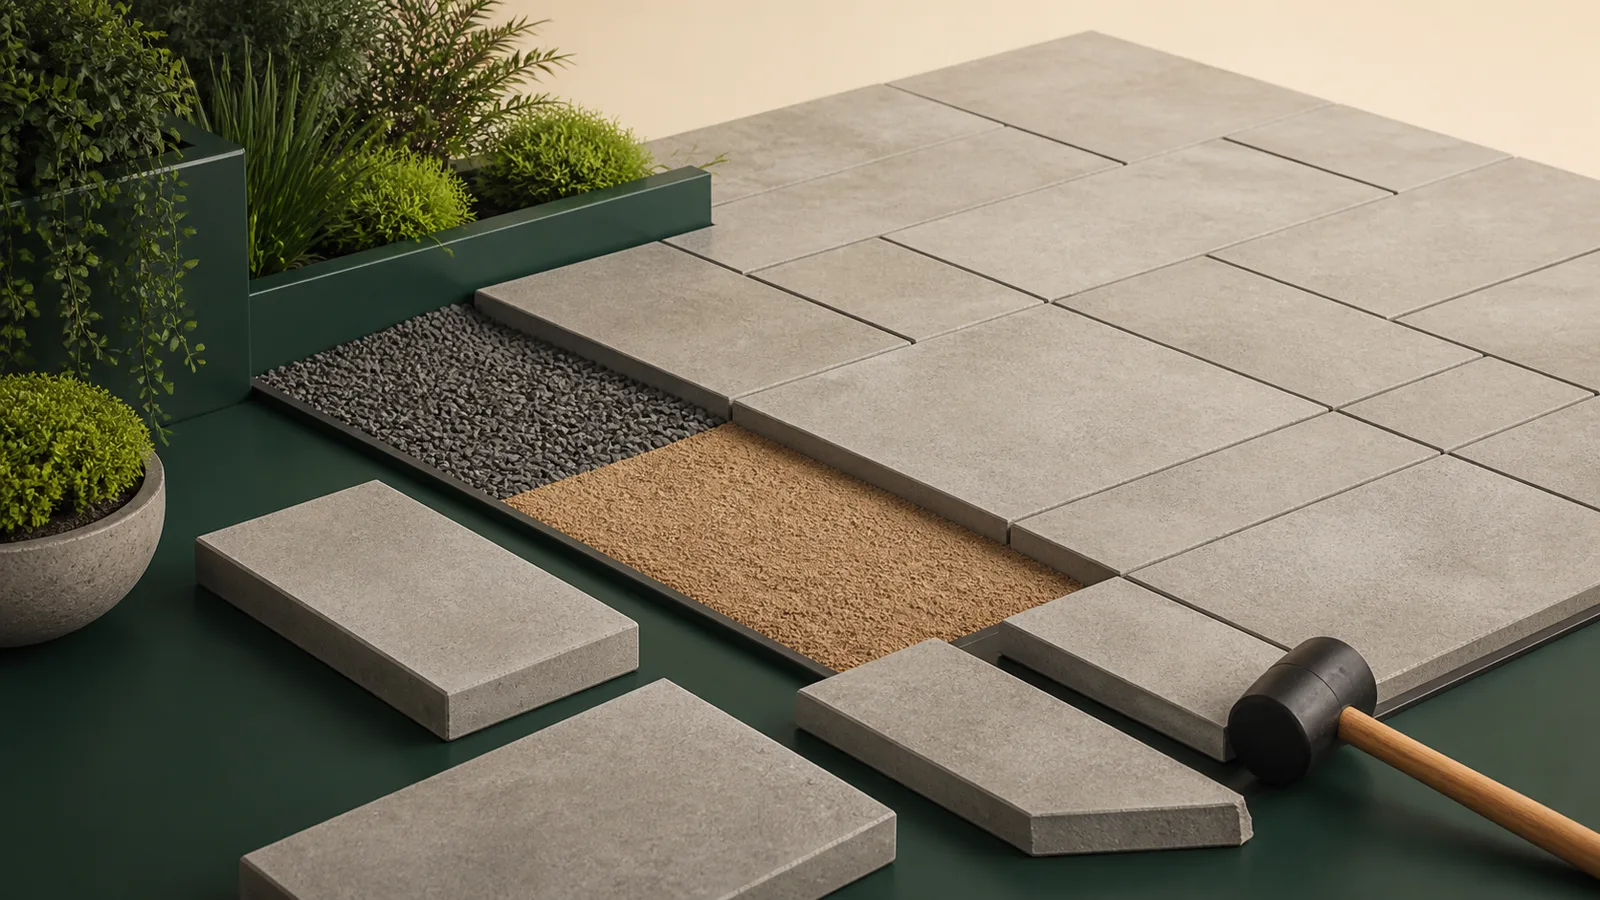
Calculate paved area, cutting allowance and whole pavers from project dimensions and individual paver size.
Measurements that make the estimate useful
Work from the actual site and the latest drawing together. Record raw dimensions before rounding, note where the section changes, and keep every value in the unit shown beside the field. If a product property or design allowance is editable, replace the example with the figure from the specification, supplier or approved detail.
Measure the paved boundary, not the whole plot. Calculate steps, drains, beds and permanent openings separately.
- Sketch the job and label every measured segment.
- Check the longest, shortest and deepest points where the site varies.
- Separate areas or runs that use a different material or construction detail.
- Keep the source of every product value with the estimate.
What the calculator does with the inputs
The paved area with cutting allowance is divided by the face area of one paver, then rounded up to a whole piece.
The calculation keeps intermediate values at full precision and rounds only the displayed answer or a quantity that must be bought whole. An allowance is applied at the stage described on this page. Changing an input recalculates the result immediately, which makes it practical to compare realistic alternatives without changing the underlying method.
How to use the result
Check whether the listed paver size is the nominal module including a joint or the actual manufactured face size.
Treat the answer as a measured planning quantity. Compare it with the drawing, the product data and the way the work will actually be built. Delivery units, standard lengths, minimum order quantities and site access can turn the same calculated requirement into a different purchase list.
Checks before committing labour or materials
Curves, borders and mixed patterns create more offcuts than a plain rectangular running pattern.
Confirm current sizes, coverage, yield and availability with the supplier. Plan unloading, storage and the order of work, especially for long, heavy or moisture sensitive items. Keep related components compatible and record the selected assumptions so that a later price comparison uses the same basis.
Mistakes that distort an otherwise sound estimate
Do not mix metres, centimetres and millimetres in one field. Do not hide a difficult shape inside an arbitrary large percentage. Measure the difficult part separately. A calculator cannot detect an incorrect reference level, a missing return, a changed specification or a site condition that was never entered.
A final check on the site
Walk the complete route or perimeter in the order the work will proceed. Look for level changes, corners, obstructions, service crossings, limited working space and places where a standard piece cannot be used. Compare the first and last critical dimensions with the drawing. If the job affects structure, drainage, access, heating or local compliance, have the assumptions reviewed by a qualified person before work starts.
Practical questions about the estimate
Should every dimension be rounded upward?
No. Keep measured dimensions until the calculation is complete. Round only the final purchase unit where a whole piece, bag or delivery unit is required.
What allowance should be entered?
Use an allowance that reflects cuts, laps, compaction, handling and the shape of this particular job. The suggested value is a starting point, not a universal rule.
Is this enough for final design or ordering?
It is a transparent planning estimate. Confirm structural details, regulations, product data and site conditions before treating it as a final instruction or purchase order.