
How to Measure a Room for Material Calculations
A repeatable way to record walls, floors, ceilings and openings without losing a dimension.
Why this matters
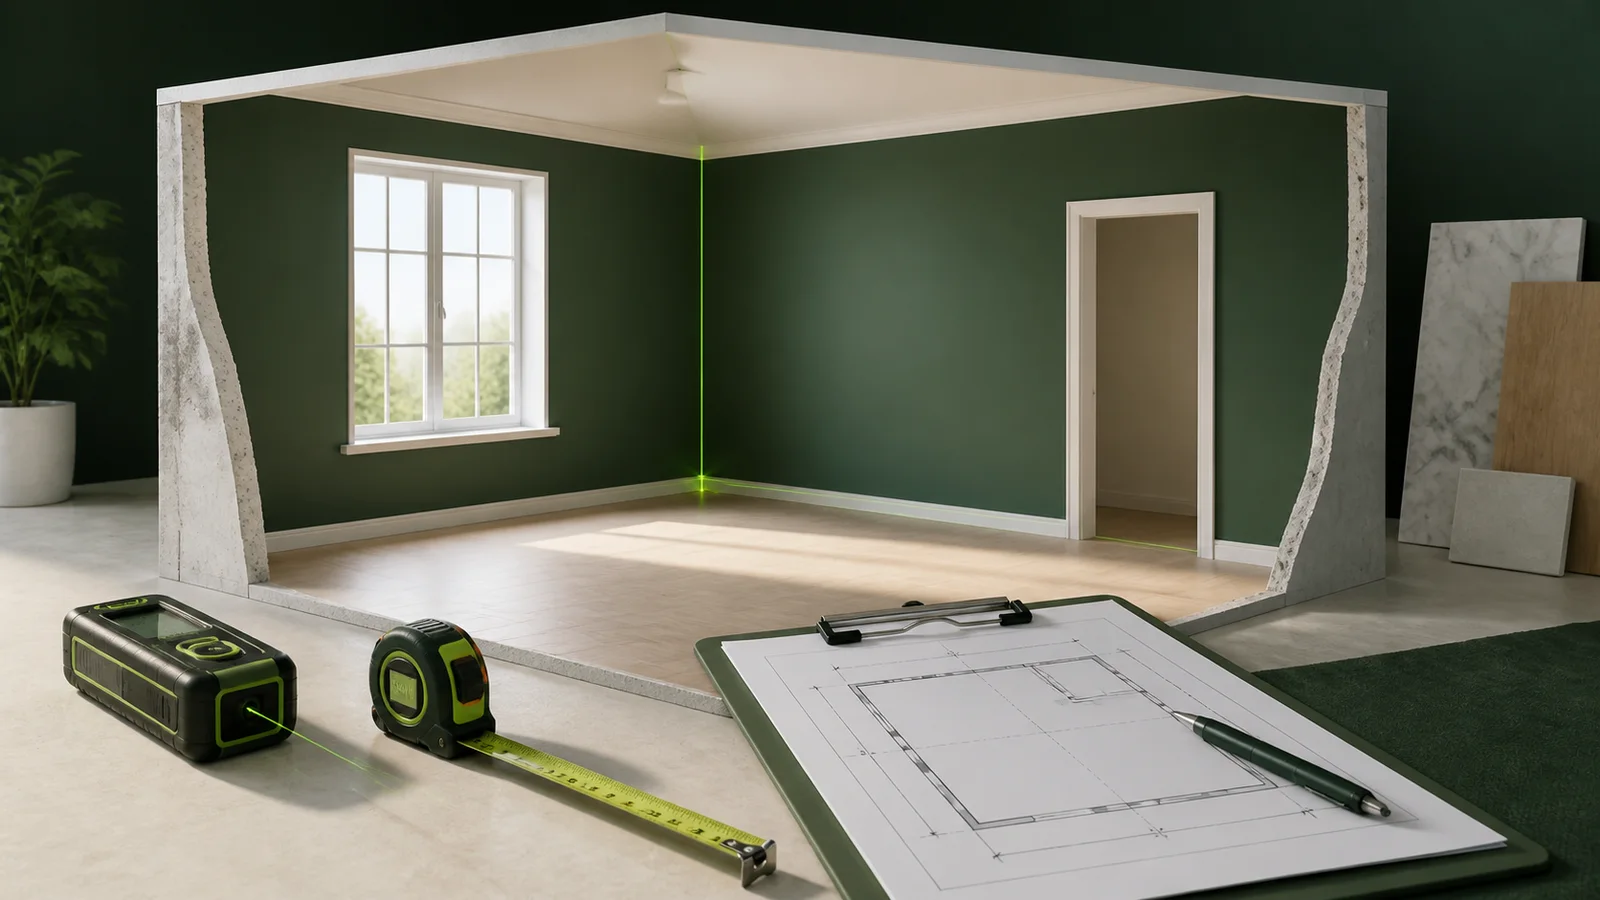
Start with a plan-view sketch and label every wall. Measure floor length and width at more than one point because older rooms are rarely square. Record height at several corners. Treat doors, windows, alcoves and boxed services as separate shapes, then decide which openings genuinely reduce the material order.
A practical working method
Write each measurement beside a simple sketch and keep the units consistent. Record product figures from the actual label instead of relying on memory or a generic average.
Working checklist
- Use a rigid tape or laser that you know how to check.
- Record the raw figure before rounding.
- Keep a note of openings, cuts and unusual details.
- Recheck the final order against the product package.
Mistakes that change the quantity
The largest errors usually come from mixing units, measuring only once, using nominal instead of finished sizes, or rounding every intermediate number. Round the final purchasable quantity, not each dimension.
Final check
A calculator organizes measurements, but it cannot inspect the site. Compare the result with drawings, package data and installation instructions before paying for materials.